Why a Personal Reorder List Matters
- How to Build Your Mulebuy Reorder List
- Reorder Flow
Creating a personal Mulebuy Reorder List is the best way to streamline your shopping workflow.Once you have five or ten Mulebuy orders behind you, the workflow should get faster, not slower. The trick is turning the shared Mulebuy spreadsheet into your personal reorder list. Here is how to build one and why it pays off.
Why a Personal Reorder List Matters
A reorder list is a filtered slice of the best Mulebuy spreadsheet hub containing only rows that:
- You have already ordered and received.
- Passed the Mulebuy QC finder without rejection.
- Fit you (for shoes and clothing).
- Shipped without customs drama.
That list is what you actually buy from. Everything else on the shared sheet is research.
How to Build Your Mulebuy Reorder List
- Duplicate the best Mulebuy spreadsheet hub into a private sheet (or a Notion database, or a Google Doc).
- After every Mulebuy order that lands well, copy the row into your list.
- Add your own columns: “my size”, “arrived on”, “shipping method used”, “delivered to”.
- Note the seller behaviour: “responded fast”, “sent extra bag”, “included a note”.
Freeze the Batch Tag
When you find a batch that fits and passes QC, freeze it. Note the exact tag. When you reorder six months later, insist on the same batch even if the seller has newer stock. The best mulebuy spreadsheet rows will show whether the batch is still current.
Track Your Sizes
Sizing varies between batches even for the same silhouette. Log your successful size for every row you keep. Over time your list becomes a personal fit guide.
Conclusion
Keeping a dynamic Mulebuy Reorder List helps you stay organized across different shopping seasons. Instead of wandering through endless public links, your curated dashboard tracks the precise factory version that fits you best. Bookmark this workflow to elevate your proxy shopping experience in 2026!
Reorder Flow
Once the list is built, reordering is a five-minute job:
- Open your reorder list.
- Pick the row.
- Copy the product link.
- Paste into Mulebuy, select your saved size, pay.
- Skip most of the research because you already know it works.
Follow the How to Buy on Mulebuy if you need a refresher on the checkout, and read the Mulebuy shipping guide for consolidation tips. New reader? Start at Mulebuyfinds home.
Continue reading: return to the Mulebuyfinds home, browse the best Mulebuy spreadsheet hub, or check the Mulebuy shipping guide. Ready to order? Open the Mulebuy sheet on FCsheet.
Summary & Next Steps
Additionally, sharing your compiled workspace with the replica community on platforms like Telegram or Reddit can foster great collaborative tracking. Other active proxy buyers might notice stock changes or batch upgrades that you missed, helping everyone maintain high accuracy. Start organizing your dashboard right now, apply your logistics tier savings, and enjoy a smarter shipping routine!
When tracking sneakers from premium batches like TOP, LW, or GX, keeping an active fit guide is incredibly vital. Sizing variations can occur between different factory runs, so logging what fits your specific measurements ensures you never waste funds on return freight costs.
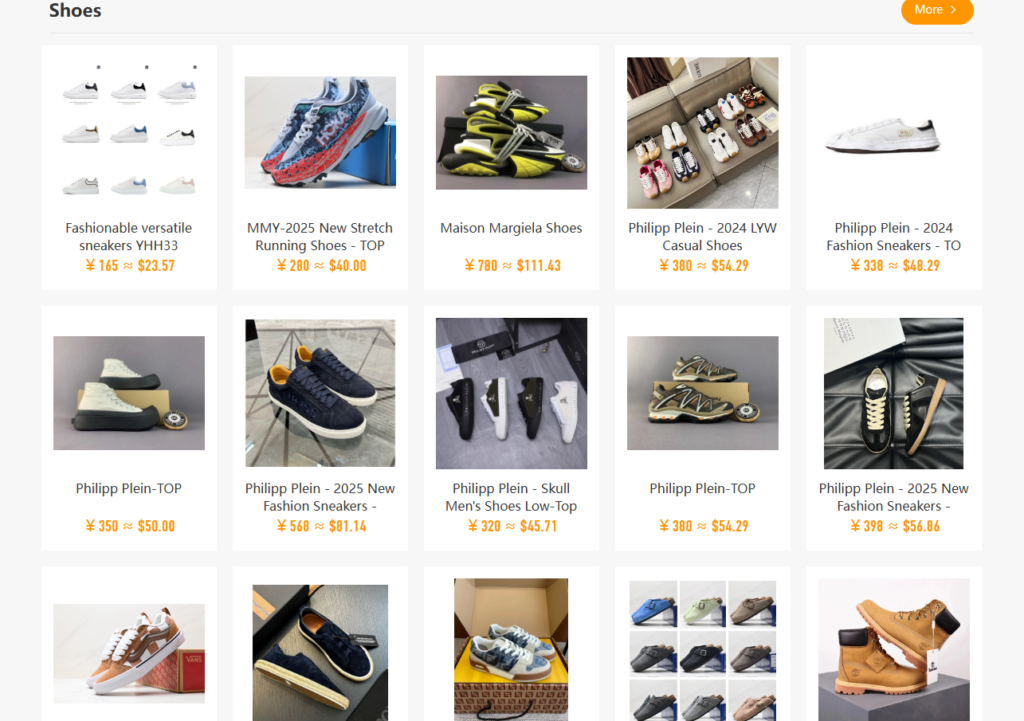
Our community section below highlights some of the most reliable streetwear finds currently active on the platform. Make sure to cross-reference these recommendations with your newly created workspace before finalizing your next haul submission!Don’t hesitate to share your own findings with fellow shoppers to keep our entire community spreadsheet synchronized. Happy sourcing and enjoy your next premium haul delivery!
## Frequently Asked Questions
### Can I share my Mulebuy Reorder List with friends?
Yes, you can easily share your compiled sheet by copying the private link or exporting it to a public Google Doc. Sharing your workspace helps other shoppers verify active product links and compare batch tiers together.
### How often should I check the tracking spreadsheet?
We highly recommend reviewing your personal dashboard at least once a week. Replica sellers frequently rotate their links or change factory batches, so regular updates prevent broken URLs.
### Will this save me money on global shipping fees?
Absolutely. By keeping a neat overview of your intended haul, you can utilize bulk packaging discounts and calculate shipping volumes much more efficiently before submitting items.